I start back at school on Monday and since I've had such a busy summer, I've been really trying to relax this week and only do stuff I want to do. I was feeling creative today, so I decided to do some sewing. I call it the Mullet Skirt. You will see why soon.
I saw a skirt somewhere, I don't remember where, that was short in the front, and long in the back. A mullet skirt, if you will.
Fabric choice was hard. I wanted something brighter as the lining, but my local fabric store didn't have anything that caught my eye. So I decided to go with a coordinating fabric rather than a contrasting fabric. Next time, I'll try something more eye-catching.
So here's a brief tutorial. The skirt is an elastic waisted skirt, and is based on this tutorial. I've made lots and lots of skirts based on this tutorial over the past year and they've been really quicky and easy, as well as really flattering.
This one was a bit more complicated, as I had to sew the interior lining to the exterior fabric.
First of all, rule #1 of sewing: Cats want to help:
Okay, so here we go. First, I found a skirt I liked the length of, and cut the top fabric to a similar size.
I wanted the front of the skirt to be flatter than the back, so I didn't use the full width of the fabric.
For the back panel, I measured how long I wanted it from my natural waist.
 |
| Trotsky is STILL "helping." |
You can see the difference of the length of the two panels. The front is going to get shorter in a minute.
I used the two panels in the purple fabric to replicate two identical panels in the lining fabric.
Next, I freehanded the swoop on the front panels. For economy's sake, I put the two front panels together and cut once.
Then I layed the cut front panels beside the back panels so I could line up the edges.
I pinned each of the two panels together along the bottom seam (the swoopy seam) with the right sides facing together.
Then I sewed, ironed the seams flat, and then turned the fabric right side out.
I repeated this procedure with the back panels. Then I pinned the two panels together along the side seams, with the right sides in. Right sides, in this case, being the purple fabric. It's important to make sure the bottom seams line up.
 |
| Please note that my bear-duck-elk fabric is UPSIDE DOWN. Because I am dumb. |
Note that the back panel will pucker a bit because it's bigger. That's okay.
Now you sew your elastic waistband, and then pin your fabric to it. Be sure that you turn your elastic inside out, and pin the right side (purple) of your fabric to it, on the inside.
If you look closely, you'll see the elastic is inside out, and the purple is facing the right side of the elastic. Make sense? Kind of?
Then sew, and make sure you stretch your elastic as you do so it first over your hips!
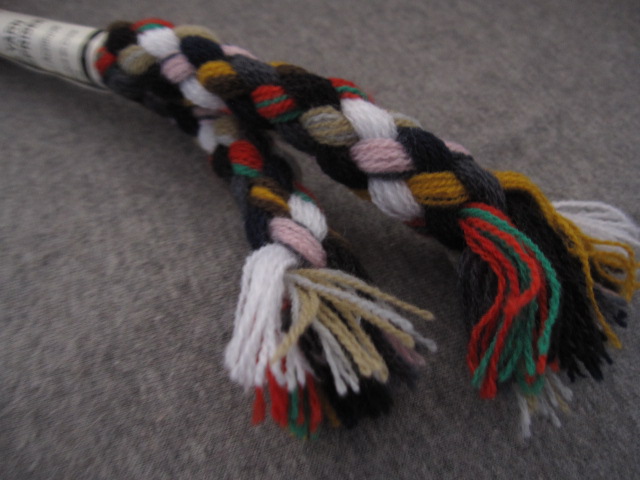
My last touch was this: I found this "mending yarn" at the fabric store and liked the colour combo.
I sewed the fringe shut so it wouldn't unravel, then hand sewed it to a button. I safety pinned the button to the waistband, so it could be removed for washing.
I like the end result, though next time I'd do a few things differently:
1. Make sure the fabric is right side up!
2. Make the back panel longer and the front panel shorter so the inside lining would be more visible.
3. Make the inside fabric brighter/contrasting so it would also stand out more.
P.S. It is HARD to take pictures of yourself. Here are some outtakes. lol.
Bwaaaahahahahah! That one's my favourite! I was trying to show the lining of the skirt but it ended up just looking trashy.


No comments:
Post a Comment